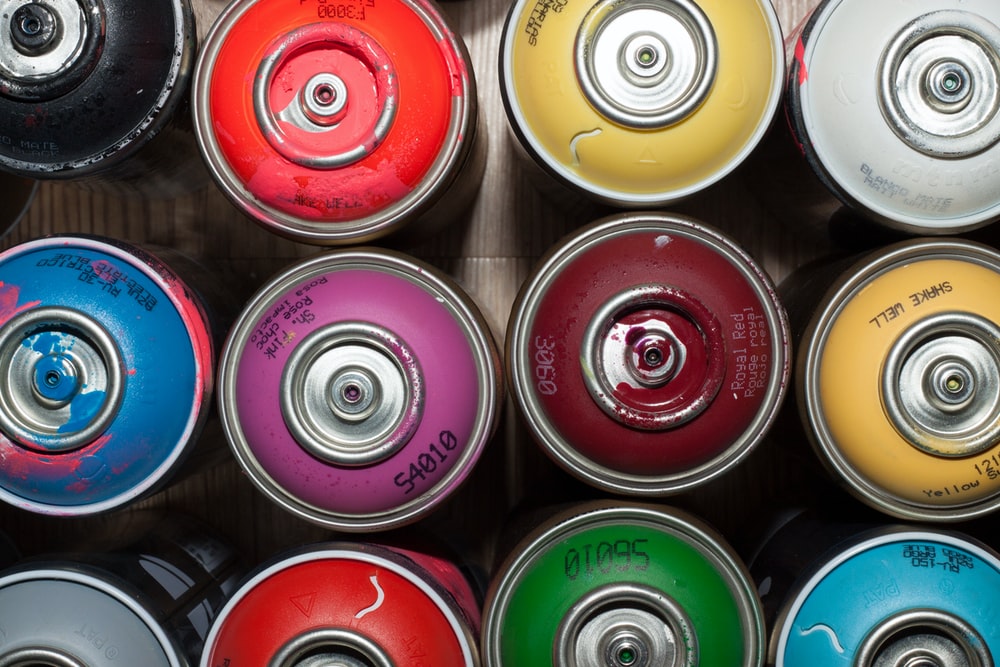
This is the first step of course, adding color! Whether you use acrylics or spray paint, this is always a messy and tedious step. When using spray paint, you have to do multiple layers. This is very important!
When adding glitter, you have to put on epoxy before this step so it sticks!
Adding the Decal/Sticker
Once the paint is completely dry, usually the next day, you can add the decal. Aligning it can be difficult, but after a while it gets easier. Once everything is in its place, you can move to the next step.
Double-check the alignment of the decals, because once the epoxy is poured over the cup, you can't fix it again!
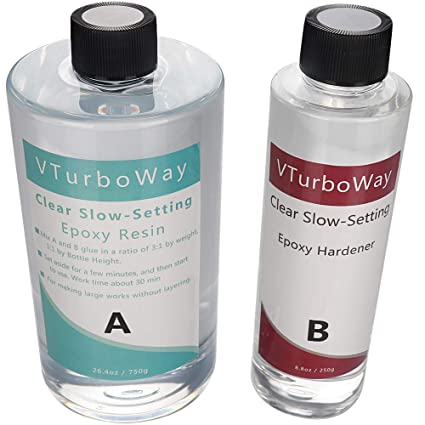
Adding the Epoxy
This is a fairly simple step. Put the tumbler on the cup turner, and pour the epoxy evenly over the tumbler. Epoxy will drip off the cup, so place a plate or piece of paper underneath.
Try not to waste too much epoxy by being very strategic about where you pour. This saves money!
Let It Spin Overnight
This is the last step! Just leave the tumbler on the cup spinner overnight. This ensures the epoxy will dry evenly over the cup. Now, the cup is ready to be given to the customer!
Things like dust or small crumbs may get stuck in the epoxy, so put the tumbler where it'll be nice and clean!